Real Estate & Home
How to Estimate Roof Solar Potential Before a Survey
By SunCast team · Published · Last updated · 8 min read · Markdown
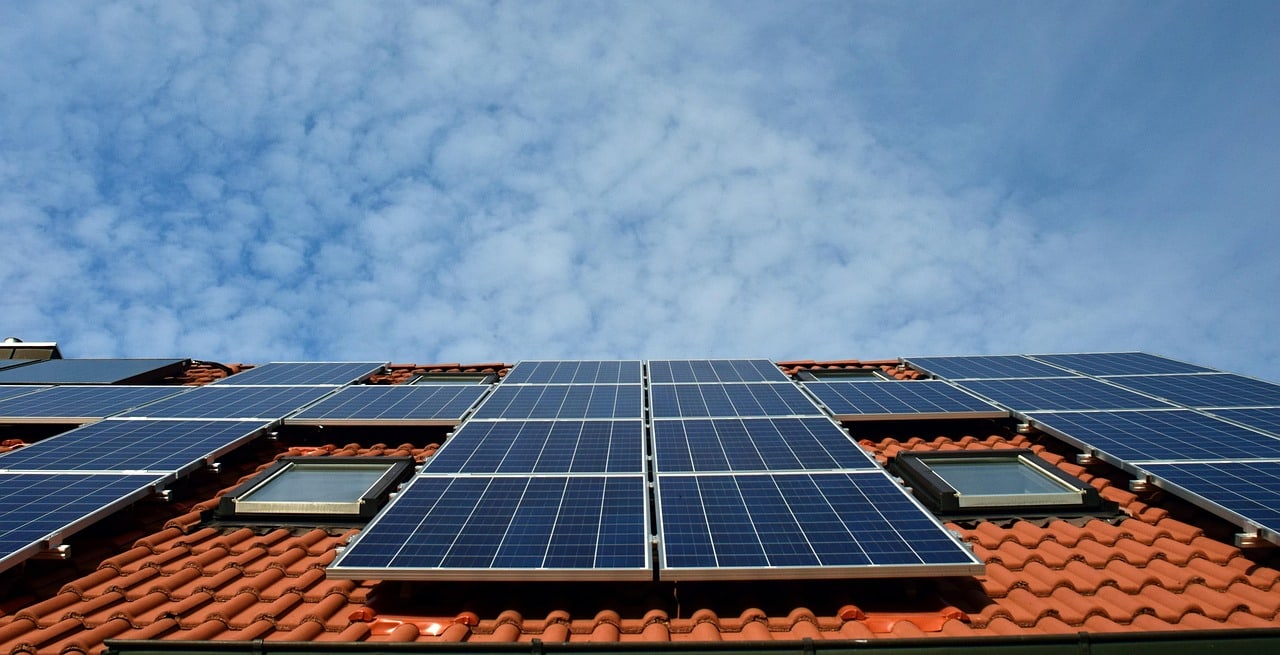
To estimate roof solar potential, describe each usable roof section by its area, direction, pitch and approximate shade, then calculate likely electricity production for the location. The SunCast Roof Solar Potential calculator uses those inputs to produce a preliminary monthly and annual estimate.
This gives you a practical starting point before a solar survey. It helps explain which roof sections contribute to the result and which assumptions need checking, rather than reducing the whole house to a single compass direction.
TL;DR
- Enter usable roof area, not the floor area of the house.
- Calculate differently oriented roof sections separately.
- Treat shade as an uncertain input unless it has been assessed properly.
- Read monthly production alongside the annual total.
- Use the estimate to prepare questions for an installer; it is not a panel layout, structural assessment or financial quotation.
What does roof solar potential actually mean?
Roof solar potential describes the electricity a photovoltaic installation might produce on a roof under stated assumptions. It depends on the solar resource at the location, the size and orientation of the system, and the losses or obstructions affecting it.
A useful estimate distinguishes capacity, measured in kilowatts, from energy, measured in kilowatt-hours. Capacity describes the nominal size of the proposed panel system; energy describes the electricity generated over a period such as a month or year.
Neither number alone tells you whether the roof can accommodate a particular final installation. The US Department of Energy’s homeowner guide identifies roof size, shape, slope, age and shade as relevant considerations and recommends a custom estimate from a solar installer.
For an early assessment, keep three separate questions:
| Question | What helps answer it |
|---|---|
| How much electricity might the roof produce? | A production model with clear inputs |
| What equipment can actually be installed? | A roof survey and detailed system design |
| How well will it suit the household? | Production, consumption patterns and a separate assessment of the proposed installation |
The browser calculator addresses the first question. Keeping that scope clear makes its result more useful when you move on to the others.
What the SunCast calculator uses
SunCast’s web roof calculator accepts one or more roof sections and combines their estimated production. Each section has a usable area, direction, pitch and approximate shade category, allowing a split or L-shaped roof to be represented without drawing its full geometry.
The current model assumes a 450 W panel occupying about 2 m², rounds down to a whole number of panels and uses 14% standard system losses in the PVGIS request. These are calculator assumptions, not claims that every available panel has those dimensions or that every installation loses the same amount.
The underlying production estimates use historical solar-radiation data from the European Commission’s Photovoltaic Geographical Information System, or PVGIS. The JRC calculation-methods documentation explains that solar radiation, temperature and other effects influence modelled photovoltaic output.
A first estimate therefore has two sources of uncertainty: the model’s simplifications and the information entered about the roof. Improving the second is often the most useful thing you can do before comparing results.
A six-step roof assessment
1. Select the correct location
Search for the property and confirm the selected position before entering roof details. The estimate needs the solar resource for that location; using a nearby city as a rough label should not replace checking the actual property position.
Keep the address or map location with your notes so that an installer can relate the estimate to the same building. If the service cannot provide data for a selected location, do not substitute a distant place and present the result as equivalent.
2. Separate the roof into usable sections
List roof planes with different directions or pitches separately. Give them recognisable names in your notes, such as “main front roof”, “rear extension” and “garage”, so that you can compare them later.
Averaging an east-facing plane and a west-facing plane into one invented direction loses information. Enter the sections individually even if they have similar areas.
3. Estimate usable area conservatively
Start from an existing plan or other reliable dimensions where available. Exclude parts you already know cannot hold panels, such as roof windows and occupied areas, and record any uncertainty about access space or final installation clearances.
The calculator converts area into an approximate panel count; it does not pack rectangles around every obstruction. A narrow strip can have enough area on paper while still being unsuitable for the assumed panel shape.
4. Record direction and pitch
Use the direction the roof plane faces, looking outwards down its slope. Do not use the direction of the ridge or assume the roof faces the same way as the front door.
The house-facing guide helps establish basic orientation, and the sun calculator shows solar direction. If the pitch is unknown, record it as an estimate and compare plausible alternatives rather than pretending you have measured it precisely.
5. Describe shade and its uncertainty
Look for trees, neighbouring buildings, chimneys and other obstructions that can affect the intended panel area. Note when the shade occurs and whether it changes seasonally.
Choose the calculator’s approximate shade category to reflect what you know. If the evidence is incomplete, use the uncertainty honestly and compare a more conservative case rather than selecting an unobstructed roof by default.
6. Read both monthly and annual results
Review each section before looking at the combined total. If one section contributes surprisingly little or much, revisit its area, direction, pitch and shade inputs.
Then compare the monthly pattern with the periods when electricity matters most to the household. A useful annual total does not establish that production will match demand in every season or at every hour.
A worked example: two roof sections
Suppose a hypothetical home has 24 m² of usable area on one roof plane and 16 m² on another. With SunCast’s current assumption of 2 m² per panel and 0.45 kW per panel, the capacity arithmetic is:
| Hypothetical section | Usable area | Approximate panel count | Nominal capacity |
|---|---|---|---|
| Main roof | 24 m² | 12 | 5.4 kW |
| Extension | 16 m² | 8 | 3.6 kW |
| Combined | 40 m² | 20 | 9.0 kW |
This example calculates capacity only. It deliberately gives no annual generation figure because that would require a location, direction, pitch and shade assumptions for each plane.
It also does not prove that twenty panels physically fit. Real dimensions, roof edges and obstructions may change the layout, so take the assumptions to the survey rather than treating the arithmetic as an installation specification.
A useful comparison would keep the location fixed and examine the main roof alone, then add the extension. That shows what the second section contributes without changing several unrelated inputs at once.
Why shade deserves its own check
A solar-resource model and a detailed local shade assessment solve different problems. The JRC horizon-profile documentation explains that PVGIS terrain data can account for surrounding hills and mountains, but does not resolve nearby houses or trees in the same way.
SunCast’s web calculator does not automatically detect those local obstructions. Its shade adjustment uses an approximate category, which is useful for exploring uncertainty but does not simulate electrical behaviour panel by panel.
Do not convert “this corner is shaded in a photograph” directly into a precise annual loss. The timing, duration and affected part of the proposed array matter, and a specialist survey can investigate them more closely.
For seasonal context, read how shadows change from winter to summer. Use the Daylight Calendar to compare day lengths, while remembering that daylight hours are not equivalent to peak-sun hours or electricity output.
Compare scenarios without losing track of the inputs
Keep a short record of the baseline and change one uncertain assumption at a time. This makes it possible to explain why two results differ.
- Area comparison: what changes if the usable roof area is smaller after a layout check?
- Section comparison: what does adding the garage or extension contribute?
- Shade comparison: how much does the result depend on the assumed shade category?
- Pitch comparison: does a reasonable correction to an estimated angle materially change the result?
Treat these as sensitivity checks. A result that depends heavily on an uncertain input tells you what to investigate next; it does not justify choosing whichever assumption produces the largest number.
If you compare SunCast with an installer estimate or another calculator, align the capacity and roof inputs first. Different equipment, mounting assumptions and loss models can produce different outputs even when the address is identical.
Three useful situations for a preliminary estimate
A homeowner with several roof planes: Calculate them separately and identify which sections deserve closer investigation. The benefit is a clearer discussion about the proposed layout, rather than a blanket verdict based on the direction the house faces.
A buyer assessing a property: Keep the production estimate alongside questions about roof condition, access and obstructions. The home-planning resources can help with broader sunlight questions, but a bright room is not evidence of a suitable photovoltaic roof.
An owner planning roof work: Raise the solar question while discussing the roof’s future condition. The Department of Energy’s roof-replacement guidance explains the practical value of coordinating those decisions to avoid later removing and reinstalling panels for roof replacement.
Each case uses the estimate to identify a next step. None requires treating an early calculation as a final design or a reason to order equipment immediately.
What to take to the solar survey
Prepare a short note containing the location, roof sections, area estimates, direction, pitch and observed shade. Include which values came from plans, which were estimated and which remain unknown.
Ask the installer to explain the proposed panel layout, equipment assumptions, local shading assessment and monthly production estimate. The DOE step-by-step solar guide also recommends reviewing electricity use and anticipated changes when considering a system.
Keep production and bill savings separate during that discussion. The browser result does not model the household’s complete hourly electricity use, battery operation or local billing arrangements, so its annual kWh figure should not be presented as a financial return.
The most useful first estimate is one you can explain and revise. Start with your roof’s usable sections in the solar potential calculator, then use the result to focus the questions that need a professional answer.