Photography
Will Tonight's Sunset Be Worth Photographing?
By SunCast team · Published · Last updated · 8 min read · Markdown
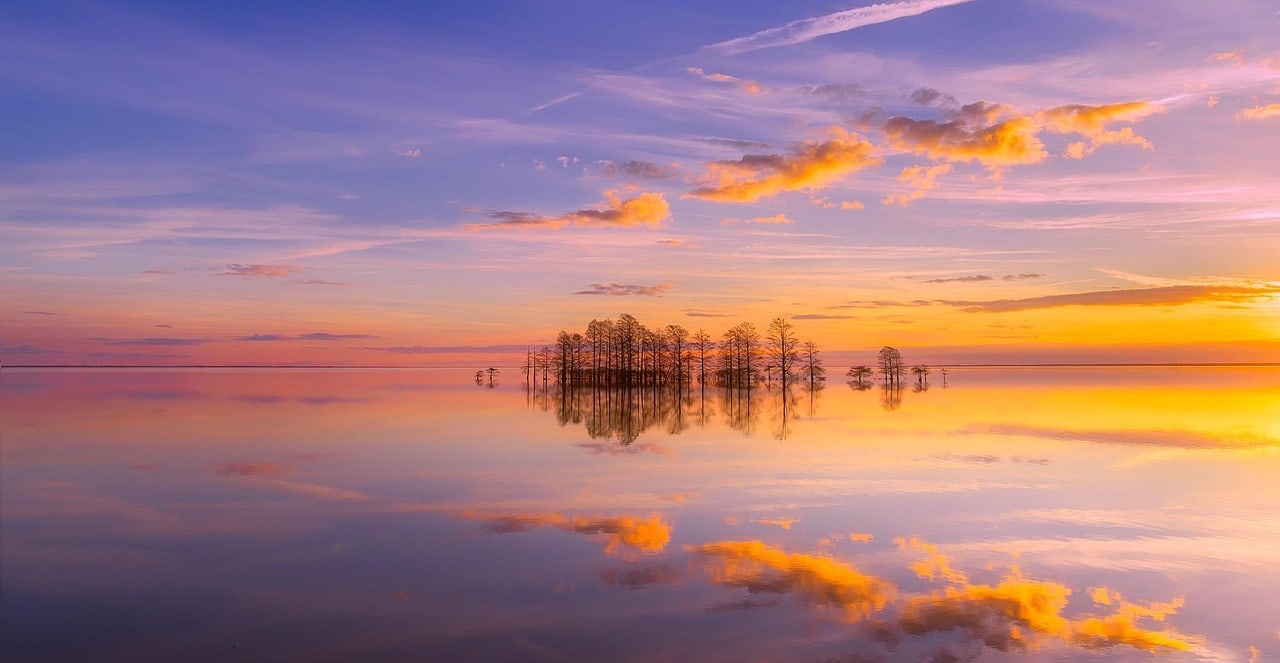
Will tonight’s sunset be worth photographing? Look for a promising combination of cloud structure, an open view towards the setting sun and workable visibility, then check how confidently those conditions are forecast. The SunCast sunset quality forecast brings those clues together, but the final decision also depends on the photograph you want.
A colourful sky, warm light on a face and a clean silhouette are different opportunities. An evening that looks unremarkable for dramatic clouds can still be useful for a portrait or a simple landscape composition.
TL;DR
- Check cloud layers and the setting-sun direction, rather than relying on a single cloud-cover percentage.
- Separate sunset colour potential from golden-hour light on your subject.
- Read forecast confidence alongside the quality score; neither guarantees a result.
- Choose a composition, arrive before the light window and keep a nearby fallback.
What makes a sunset worth photographing?
A promising sunset combines light that can reach the scene, something interesting for it to illuminate and a composition that benefits from the conditions. Clouds can supply colour and texture, but clear skies can also work well for silhouettes, reflections and directional light.
The National Weather Service’s explanation of sky colour describes how sunlight takes a longer path through the atmosphere near sunset. More short-wavelength light is scattered out of the direct path, leaving a warmer balance of colours reaching the observer.
That explains the possibility of colour, rather than predicting its appearance at a particular viewpoint. Your decision still needs a subject: a patch of colourful sky may be attractive, but it becomes more useful when you know how it relates to the foreground.
Before opening a forecast, finish this sentence: “Tonight I want to photograph…” A skyline under coloured clouds calls for a different plan from a person lit by the last direct sunlight.
Why one cloud-cover number is not enough
A percentage tells you something about how much cloud is forecast, but it does not fully describe its height, thickness, arrangement or position relative to the sun. A thin high layer and a low opaque bank can produce very different photographic conditions.
The NWS cloud classification guide distinguishes high, middle and low cloud types and notes that low sun angles can colour high clouds. For planning, that makes cloud structure worth checking alongside total cover.
Treat the following as clues to investigate, rather than a recipe with a guaranteed outcome:
| Forecast clue | Possible photographic opportunity | What to check on location |
|---|---|---|
| Middle or high cloud with breaks | Texture that may catch low-angle light | Whether light can reach that layer |
| Little cloud | Simple skies, silhouettes and direct light | A foreground strong enough to carry the frame |
| Extensive low cloud | Softer light or a muted evening | Any opening towards the setting sun |
| Reduced visibility or fog | Atmospheric layers and simplified scenes | Whether the subject remains visible |
| Rain or strong wind | Conditions that may complicate the session | Local weather advice, access and equipment needs |
These interpretations are planning judgements, not claims that a certain percentage always produces a good sunset. Two evenings with the same headline forecast can look different from the same place.
The NWS guide to cloud development also explains that cloud droplets scatter light differently from the much smaller molecules responsible for a blue sky. The visible result depends on more than how much of the sky is covered.
Sunset colour and golden-hour light are different
A sunset forecast asks whether the sky and atmosphere look promising around the solar event. A golden-hour plan asks whether low, directional light will reach a particular subject before the sun sets.
Consider a portrait beside a wall. Interesting clouds may colour the background while the face is already in shade; conversely, a clear evening might provide useful backlight without an elaborate sky.
Use the golden hour calculator for the timing window, and the sun direction map for the angle of the light. Our guide to planning a photoshoot around light direction explains how to relate that direction to the subject and camera.
For a landscape, make the same distinction between the foreground and the sky. Decide whether you need sunlight on the ground or whether a darker foreground will suit the picture.
How to read SunCast’s sunset quality forecast
SunCast’s web quality forecast combines local solar-event calculations with MET Norway weather data to produce an experimental photography index. It offers separate assessments for sunrise, sunset and golden-hour light, with a quality score and a confidence indication.
The 0–100 quality index is not a probability. A score of 80 does not mean an 80% chance of a colourful sunset, and a lower score does not mean there is no worthwhile photograph to make.
Read the explanation alongside the score. Cloud layers, visibility, humidity, fog, precipitation and wind help describe why an event looks more or less promising; missing weather fields reduce confidence instead of being treated as ideal conditions.
MET Norway’s Locationforecast documentation describes the forecast data behind this kind of weather view. The photography score is SunCast’s interpretation of those inputs, rather than a sunset-colour prediction issued by MET Norway.
There is another useful limit: the tool’s horizon-openness assessment uses weather clues such as low cloud. It does not inspect the view from your tripod or automatically identify the building, tree or ridge in front of it.
A six-step plan for tonight
1. Set the location and check the event date
Search for the place where you intend to photograph, then confirm which sunset the tool is displaying. A forecast for your home is less useful if the viewpoint is elsewhere, and an event that has already passed should not be mistaken for tonight’s opportunity.
Record the local sunset time with the date. This is particularly helpful when planning travel or discussing the session with someone in another time zone.
2. Read quality and confidence together
Start with the sunset event and its explanation. If confidence is limited, treat the plan as provisional and check again closer to departure.
Use your own travel commitment as part of the decision. A speculative walk to a nearby viewpoint needs less certainty than a long journey built around one hoped-for burst of colour.
3. Check where the sun will set
Open the sunrise and sunset direction tool for the same location and date. Compare the setting direction with the view you can actually photograph.
Do not assume that the sun will line up with a familiar gap simply because it did on a previous visit. Pick a viewpoint that works with the selected date, or choose a composition that does not depend on that alignment.
4. Choose a foreground before the light changes
Find a subject or structure that gives the picture a reason to exist: a shoreline curve, a tree silhouette, a reflection or an architectural outline. Decide how much sky it needs.
If the forecast suggests cloud texture, leave room for it in the composition. If the sky looks simple, give more attention to the foreground and the direction of the remaining light.
5. Arrive with time to prepare
Keep walking, access checks and equipment setup outside the main photography window. Make a test frame before the most time-sensitive light, then check focus and the bright areas of the image.
The outdoor location-scouting checklist helps turn that preparation into a repeatable habit. The purpose is to spend the changing light making decisions about photographs instead of searching for a place to stand.
6. Reassess the sky and keep a second option
Compare what is actually happening with the forecast. If the expected light is blocked, look for a nearby composition that works with soft light, reflections or silhouettes.
Keep the alternative close enough to use without losing the remaining session. A distant second destination is another plan, rather than a useful fallback for the current light.
Three evenings, three sensible decisions
The nearby waterfront: The forecast has interesting cloud structure but limited confidence. If the viewpoint is easy to reach, you might choose to go for a flexible session with both reflection and silhouette compositions prepared.
The portrait appointment: The sky-colour outlook is modest, but the direct-light window and background suit the subject. Judge the session by the light needed on the person, rather than by a score intended to describe sunset colour.
The distant landscape viewpoint: The forecast is uncertain and the composition only works with a specific illuminated feature. Recheck the conditions before committing, and consider a closer location if the journey would only be worthwhile for that one outcome.
These are examples of decision-making, not measured success rates. The useful habit is matching the amount of uncertainty you accept to the time and effort involved.
Should you pack up at sunset?
Sunset and the end of useful sky light are different events. The US Naval Observatory’s definitions explain that twilight continues after sunset and that the actual light available depends on atmospheric conditions, cloud and the visible horizon.
If the setting remains accessible and suitable, consider a composition that works as the balance of sky and artificial light changes. Our blue-hour guide covers that different look; the Sun Times schedule shows the surrounding event times.
Avoid turning this into a rule that the best colour always comes later. Observe the scene and choose whether staying serves the photograph you want.
Make the forecast useful to your photography
After the session, note the place, forecast explanation, confidence and what you actually saw. A short record helps distinguish a location problem from an atmosphere problem: perhaps the sky was promising, but your foreground lost direct light behind a building.
SunCast gives photographers a way to combine timing, direction and weather context before leaving home. The wider photography workflow helps connect those checks to planning on location, while observation remains the final test.
For tonight, start with the sunset quality forecast for your chosen viewpoint and choose one photograph that would make the visit worthwhile.