Photography
The Location-Scouting Checklist for Outdoor Photographers
By SunCast team · Published · Last updated · 6 min read · Markdown
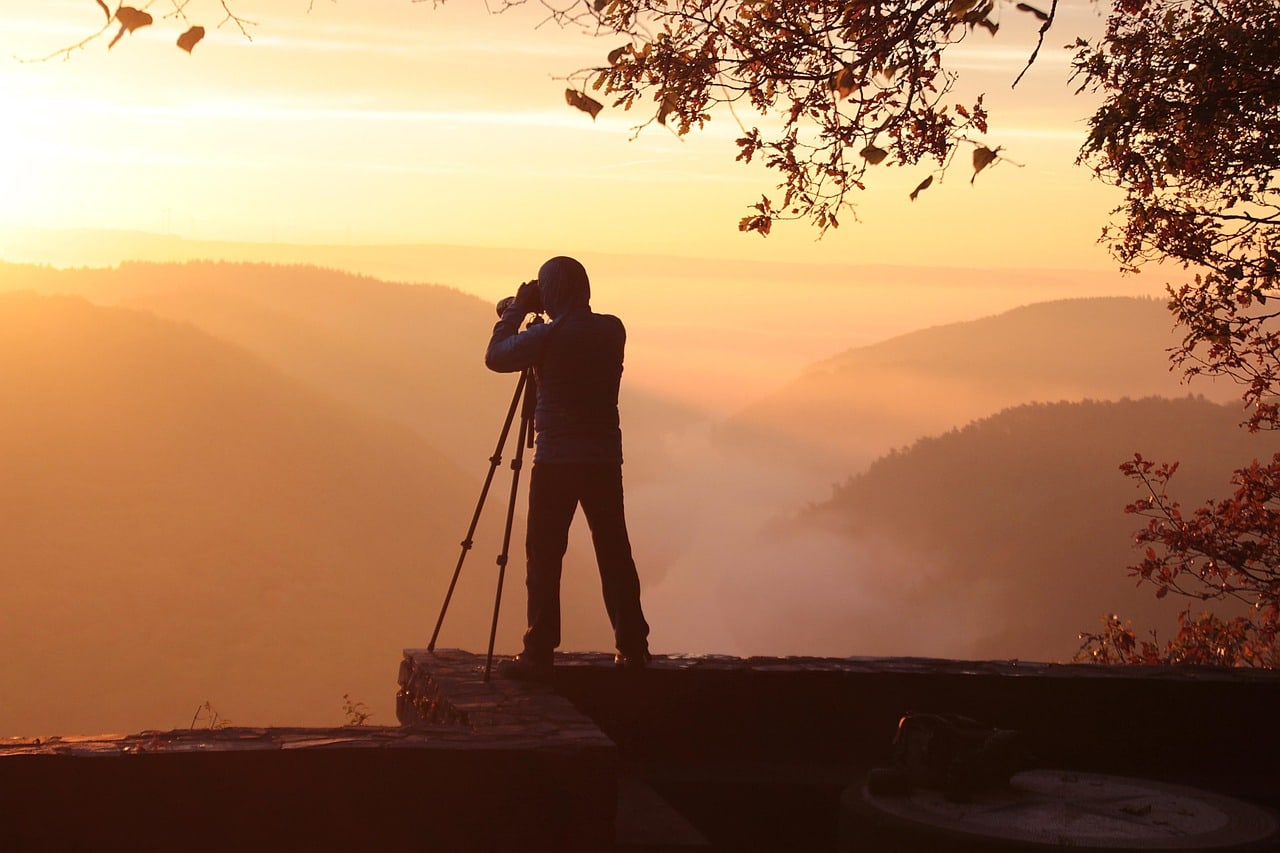
How do photographers scout a location for good natural light? Check the sun’s direction and height for the exact date and time, then walk the location for backgrounds, shadow edges, access, and a workable fallback. Golden hour helps, but it cannot tell you whether the light reaches the subject or whether the intended angle is usable.
TL;DR
- Start with the scene and the subject’s likely position, not with a generic “golden hour” time.
- Check sun azimuth for direction and elevation for height; both change with location, date, and time.
- Scout foreground, background, shade, reflective surfaces, access, permits, and the weather fallback before shoot day.
- Use the sun calculator to test a location and SunCast for photographers to preview a planned date, shadow context, and light direction on location.
What a golden-hour time leaves out
Two photographers can arrive at the same overlook during golden hour and get entirely different results. One might have warm side light across a face; the other may find the sun hidden by a ridge, aimed straight into the lens, or blocked by a building that did not show up in the mood board.
Ask where the sun will be relative to the subject, background, and camera position. The golden-hour calculator can establish the time window, while the guide to planning a photoshoot around light direction explains how to turn that window into front, side, or backlight.
NOAA’s Solar Calculator provides solar position for a location, date, and time. Its solar-position documentation defines azimuth as direction measured clockwise from north and elevation as height above the horizon. Those are the two numbers behind the field question: “Will the sun be over there, and how high will it be?”
Choose the location where the planned sun direction, available shade, background, access, and backup options work at the time the images need to be made.
The outdoor location-scouting checklist
Bring this list to an in-person scout, and use it again when planning remotely.
1. Set the subject and camera positions
Pick the likely subject mark, then decide where the camera will be. “The park has nice light” is too broad: a path can work in one direction and fail after you turn the subject 90 degrees.
For portraits, test at least three positions: the intended hero background, an open-shade option, and a direction that lets you shoot with the sun behind the subject. For landscapes or architecture, mark the foreground, the sun’s possible entry point, and any object that will cast a long shadow through the frame.
2. Check the sun on the actual shoot date
Use the exact location, date, and time range, rather than today’s conditions. The sun’s seasonal movement comes from Earth’s axial tilt: NASA notes that the June and December solstices place the sun at its northernmost and southernmost positions relative to the equator, respectively. See NASA’s explanation of seasonal sun paths and shadows.
The change is large. At Bamburgh Castle in Northumberland, the sun rises at 04:24 BST on a bearing of 44° on 21 June and at 08:35 GMT on a bearing of 133° on 21 December, almost 90° further round the horizon. It also climbs at different rates: an hour after sunrise on 20 March it is 7.6° up, while on both solstices it is still below 6° after the same hour (figures from SunCast’s sun calculator). A frame you scouted on a spring morning can have the sun somewhere else, and lower for longer, when you come back in June or December.
Check three moments: the planned start, the main shooting window, and 30 to 60 minutes after it. This reveals whether direct light will cross the subject, disappear behind an obstruction, or turn from side light into backlight while you work.
3. Read the shadows, not just the sun
Buildings, terrain, trees, railings, and parked vehicles can matter more than the open sky. Look for hard shadow boundaries across a face, uneven shade on a dress or product, and backgrounds that become bright distractions.
Low sun creates long, fast-moving shadows; higher sun makes shorter shadows but can create deeper eye sockets and strong contrast. For open shade, find a broad, even source, such as the shadow from a building or a dense canopy. A small patch may move off the subject in ten minutes.
4. Check the background in every likely direction
Face the camera toward, away from, and across the sun. A background that looks clean from one angle may contain a bright road, reflective water, a glass building, or a busy horizon from another.
This also prevents a common scouting mistake: choosing a frame with a perfect background but no place to put the sun. Decide whether the shot needs a bright sky, controlled backlight, side light with texture, or flatter front light. Then make sure the camera can stand in the corresponding place safely.
5. Plan for glare, heat, and comfort
Direct low-angle sun can cause glare for both the photographer and subject. It is particularly important around water, pale pavement, sand, glass, or metal. The National Weather Service notes that reflective surfaces such as sand and water can increase UV exposure, and recommends shade and sun protection when UV is elevated. See its UV index guidance.
That is a practical production issue as well as a comfort issue. Bring water, allow shade breaks, and do not assume that a cloudy forecast removes the need for a plan. If a long shoot falls near midday, scout an open-shade route or an indoor fallback.
6. Confirm access before you promise the location
Check parking, walking distance, public access rules, private-property permission, permits, event conflicts, toilets, and the actual time gates open. A location can be visually ideal and still fail because the subject cannot get there, the best view is closed, or a crowd occupies the frame.
For an unfamiliar place, also assess safety: footing, traffic, tides, cliff edges, changing water, and the path out after sunset.
7. Create a weather and light fallback
Cloud cover can turn a side-light portrait plan into soft, even light. It creates a different look. Write down a fallback frame for overcast conditions, one for direct sun, and a location with dependable shade.
Check conditions close to the shoot, but keep your light plan separate from the forecast. Solar position is predictable for a date and place; the usable quality of light still depends on cloud, haze, smoke, reflections, and the local horizon.
A 10-minute remote scout workflow
- Drop a pin on the exact location and enter the shoot date.
- Check sunrise, sunset, azimuth, and elevation around the planned time.
- Inspect the map for buildings, terrain, tree cover, water, and access routes.
- Choose a subject direction for the preferred light and one backup direction.
- On arrival, confirm the plan in the real scene and adjust for the actual sky.
Step 3 is where a map runs out: it shows roofs and contours, not what the camera will see from the subject’s mark.
SunCast suits a daylight shoot where light direction, building or terrain shadows and timing all matter. For a shoot built around the moon, the Milky Way or other night-sky events, an astronomy-focused planner may be a better fit.
Keep the brief simple enough to use
For each location, record the date, call time, hero frame, subject direction, sun direction, one shade option, one rain or overcast option, an access note, and the decision point for moving. A one-page brief keeps those decisions usable on shoot day.
If you want to refine the time window, read what time golden hour is today and how long golden hour lasts. Then test the exact scene with the sun calculator before committing to the location.