Photography
How to Plan a Photoshoot Around Light Direction, Not Just Time
By SunCast team · Published · Last updated · 6 min read · Markdown
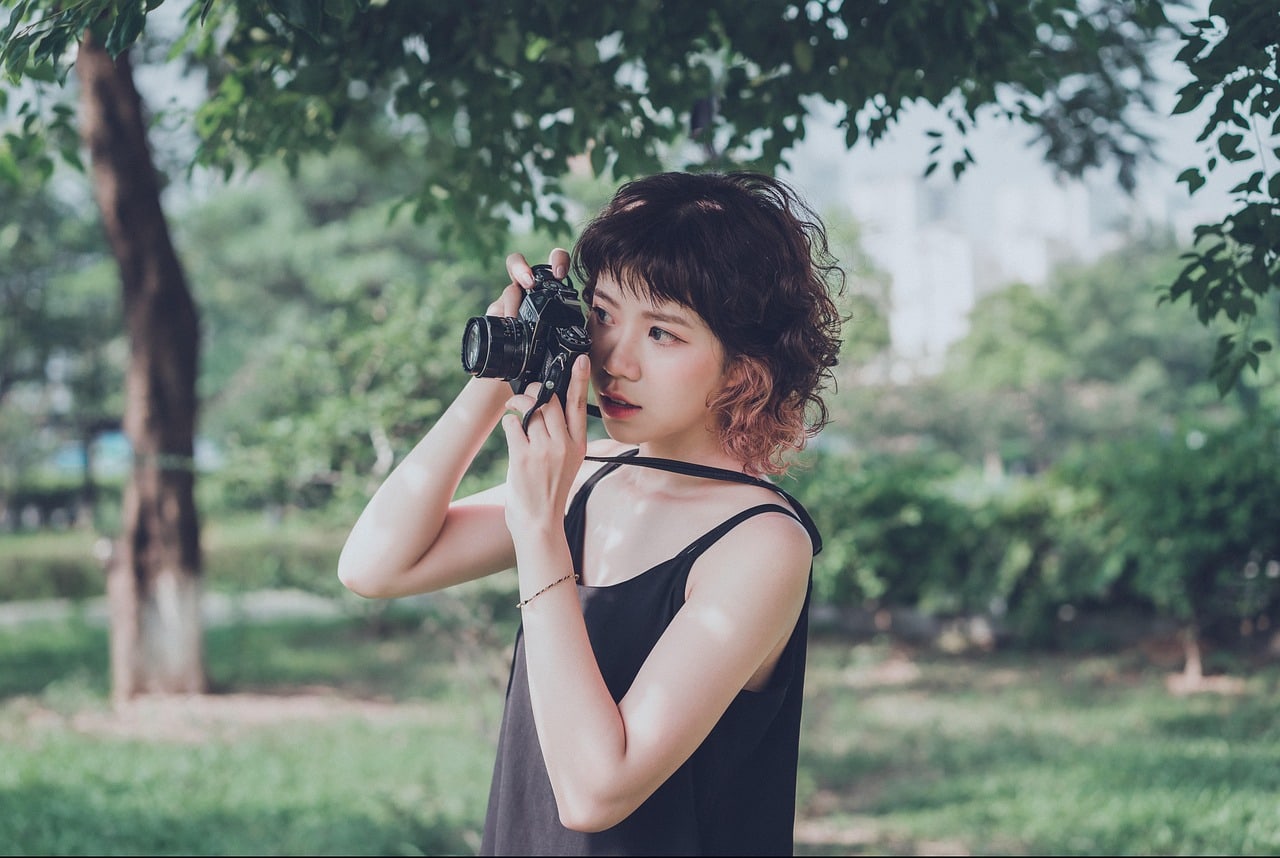
How do you plan a photo shoot with the sun? Start with direction, not time. A calendar can tell you when the light will be soft, but the photo is made by where that light comes from: front light, side light, backlight, or shade. Two shoots at the same hour can look completely different if one subject faces into flat light and the other catches low side light across the frame.
This guide shows how to plan around light direction before you get to the location.
Key takeaways
- Time tells you how high the sun is; direction tells you how the subject will actually be lit.
- Decide whether you want front light, side light, backlight, or open shade before choosing the exact shooting spot.
- Scout the background as carefully as the subject, because the sun can make it glow, flare, or fall into shadow.
- Use the sun position calculator to check the sun’s azimuth and elevation for your location and shoot time.
Ready to scout a location? Copy the photoshoot sun-scouting checklist to record camera position, the usable light window and your backup setup.
Why light direction matters more than the clock
“Shoot at golden hour” is decent advice, but it is incomplete. The best time of day still gives you bad light if the subject is facing the wrong way, the background is in harsh glare, or a building blocks the sun five minutes before you planned to start.
Light direction controls the shape of the image. It decides where shadows fall, whether faces look flat or sculpted, whether a landscape has depth, and whether a product or building reads clearly. Time only sets the broad quality of the light: high and hard at midday, lower and warmer near the ends of the day, cool and diffuse in twilight.
For serious planning, you want both:
- Sun elevation: how high the sun is above the horizon.
- Sun azimuth: the compass direction the sun comes from.
Elevation tells you the length and hardness of shadows. Azimuth tells you where to stand.
Choose the kind of light before choosing the spot
Before scouting compositions, decide the lighting pattern you want.
Front light comes from behind the camera and hits the subject directly. It is simple, bright, and safe, but it can flatten faces and landscapes because shadows hide behind the subject. Use it when clarity matters more than drama.
Side light comes across the subject. It reveals texture, shape, and depth, which makes it strong for landscapes, architecture, portraits with character, and anything with surface detail. It is usually the most useful starting point for outdoor work.
Backlight comes from behind the subject toward the camera. It creates rim light, silhouettes, glow through hair, and atmosphere. It can be beautiful, but it needs more exposure control because the subject can fall dark against a bright background.
Open shade uses indirect sky light rather than direct sun. It is reliable for portraits, products, food, and detail shots when direct sunlight is too contrasty. The trick is to keep the subject in shade while facing toward open sky, not a dark wall.
Once you know which one you want, you can use the sun’s direction to pick the right side of the street, hill, garden, beach, or building.
Scout the subject and background together
A common planning mistake is checking where the subject will stand but ignoring the background. The sun affects both. A portrait subject in perfect shade can still look bad if the background behind them is blazing white. A landscape foreground can be beautiful while the mountains behind it are flat and dull.
When scouting, ask four questions:
- Where will the sun be relative to the subject?
- Where will the sun be relative to the camera?
- What happens to the background at that angle?
- What blocks the sun before, during, or after the planned time?
For portraits, try to avoid a background that is much brighter than the face unless you want a high-key or silhouette look. For architecture, check whether the sun lights the facade you care about, not just the street. For landscapes, think about whether side light will rake across the terrain or whether the whole scene will face into flat light.
The sun position calculator helps here because you can move the time and date, then compare the sun’s compass direction with the map. For broader workflow ideas, see SunCast for photography.
Explore light at your shoot location
Move through the planned shoot time and compare sun direction with your subject and camera position.
Choose a search result to start. Browser location is only requested when you press the button above.
Open the sun position calculator →Check blockers before you trust the plan
The calculated sun position assumes the sky is open. Real locations are not. Buildings, ridges, trees, walls, bridges, and cliffs can block the sun long before the official sunset time or before your planned low-angle light arrives.
That matters most in urban shoots and mountain locations. Take a street in Bristol on 15 September with a 10 m terrace on the south-west side, 20 m from your subject. The terrace blocks the sun once it drops below about 26.6°, which SunCast’s sun calculator puts at 16:24 BST, with the sun on a bearing of 238°. Sunset is not until 19:27 and the sun only drops below 6° at 18:44, so the subject loses direct light more than two hours before the warm, low light you planned the shoot around. A valley can be in shade while the ridge above it is glowing, and a courtyard can have one ten-minute window of direct sun, then nothing.
Before you commit, look for blockers in three places:
- Satellite view, to see building and terrain layout.
- Street-level photos, to judge wall height, trees, and overhangs.
- The location itself, if you can scout in person.
NOAA’s solar calculator is useful for the underlying sun data, while the Wikipedia page on azimuth is a clear reference for the compass-direction concept behind sun planning.
Build a simple shot plan
You do not need a complicated call sheet. For most outdoor shoots, a simple plan is enough:
- Main subject or scene.
- Desired light: front, side, back, or shade.
- Planned start time and fallback time.
- Sun direction at the planned time.
- Where the camera should stand.
- Backup location if the sun is blocked.
For a portrait session, that might mean starting with open shade for safe close-ups, moving to side light for environmental portraits, then finishing with backlight as the sun drops. For a product or real estate shoot, it might mean timing the exterior when the main facade is lit, then moving indoors when the window light is strongest.
A plan like this still leaves room for spontaneity. It just saves you from spending the first half of the shoot discovering that the light you wanted is on the wrong side of the location.
The short version
To plan a photoshoot with the sun, think in directions first: front light, side light, backlight, or open shade. Then check the sun’s azimuth and elevation for the location, scout what blocks it, and make sure the background works as well as the subject. Use the sun position calculator to map the light before you arrive, and keep SunCast for photography handy for scouting on location.
For portraits in direct sun, use the practical workflow in how to avoid harsh shadows in outdoor portraits, including an embedded Sun Calculator.