Outdoors
How to Find Shade on a Summer Hike
By SunCast team · Published · Last updated · 13 min read · Markdown
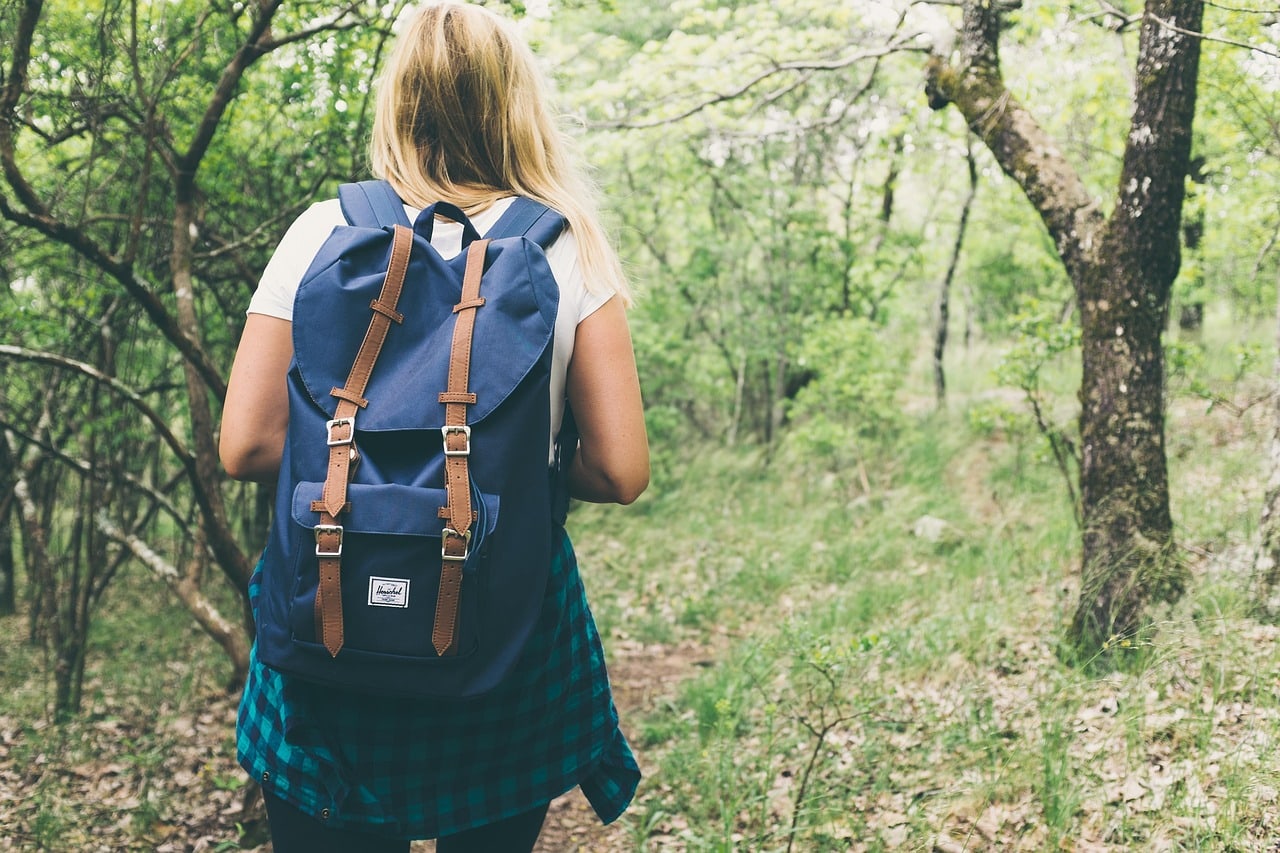
How do you find shade on a summer hike? Check the sun’s direction for the exact place and hour, then identify terrain, tree cover, or built shelters that will stand between the trail and the sun when you reach them. Plan the shaded section and rest stops into the route before leaving, then verify the forecast and the actual conditions at the trailhead.
Shade moves. A wooded trail can become exposed when the sun lines up with a canopy gap, while a bare canyon path may fall into deep shade after the sun passes behind a wall. So the question to ask of a route is where dependable shade will be at the time you get there.
TL;DR
- Start with the official forecast, heat warnings, trail alerts, water availability, and your group’s limits. A shade plan is only one part of a safe hike.
- Check solar azimuth for the sun’s compass direction and elevation for its height at the time you expect to reach an exposed section.
- Look for broad, continuous blockers: a ridge, canyon wall, dense canopy, rock formation, or maintained shelter. A lone tree or tiny patch of shade is a weak plan.
- Time exposed ground for a cooler period and reserve reliable shade for breaks. Recheck the plan at the trailhead because clouds, smoke, closures, vegetation, and your pace can change.
- Use the sun calculator for a quick place-and-time check, then use SunCast for hikers and campers when a 3D terrain-shadow or on-location AR view would make the route easier to read.
The quick answer: match the sun to a real blocker
To predict hiking shade, you need to know where the sun will be, what can block it, and when you will arrive. Leave any one out and the prediction fails, and even a complete one still needs current weather and trail conditions.
The sun’s position is commonly described with two angles:
- Azimuth is its compass direction around the horizon.
- Elevation is its angle above the horizon.
NOAA’s Solar Calculator returns both values for a selected location, date, and time. For a practical trail decision, azimuth tells you which side needs a blocker; elevation helps you judge whether a low ridge, tall wall, or tree canopy is likely to interrupt the direct sun.
For a fuller explanation of how to read the two angles, use the guide to sun azimuth and elevation before building the route plan.
Why “shady trail” is not a precise description
A route review may call a walk shady because much of it passes through forest. That can be directionally useful, but it leaves out the variables that determine whether the shade will help during your actual visit.
Tree cover changes with canopy density, season, storm damage, fire, maintenance, and the angle of sunlight. Terrain shade changes as the sun crosses the sky. A west-facing wall that protects a trail in the morning may be receiving direct afternoon sun by the time you return.
The same route can also feel completely different at different speeds. A fast group may reach an exposed ridge before the sun is high; a slower group may arrive after the shade has moved. Build the plan around realistic arrival windows, including stops, elevation gain, children, heat, and the possibility of turning around.
Shade matters because direct solar exposure adds to the difficulty of exercising in hot conditions. The National Park Service’s general guidance for preventing heat-related illness recommends checking forecasts and alerts, choosing cooler parts of the day, resting often, and using shade when available. The CDC likewise advises people outdoors in heat to stay in shade, take breaks, and schedule activity for cooler periods.
The right hours still depend on the place. A desert park’s recommended schedule will not suit a humid forest or an alpine ridge, so use current local guidance for the route you are walking.
What creates dependable trail shade?
Not all shade is equally useful. The best rest-stop shade is large enough for the group, likely to remain in place for the planned break, and located somewhere safe and legal to stop.
| Trail feature | What it can provide | Main uncertainty | Planning confidence |
|---|---|---|---|
| Broad ridge or mountain wall | Long terrain shadow when the sun is behind it | Exact height and local horizon | High when 3D terrain is clear |
| Deep canyon wall | Strong shade through part of the day | Heat can remain trapped; flash-flood exposure | High for sun, separate safety check required |
| Dense, mature forest canopy | Repeated or continuous shade | Gaps, seasonal leaves, fire, windfall, logging | Medium |
| Large rock, bluff, or boulder field edge | Local shade for a short stop | Shadow moves quickly; rockfall or unstable ground | Medium to low |
| Picnic shelter or maintained structure | Predictable covered rest area | Opening hours, capacity, route access | High when officially confirmed |
| One isolated tree | Small moving patch | Lightning, dead branches, limited capacity | Low |
| Passing cloud | Temporary reduction in direct sun | Timing and persistence | Very low |
The last column rates the shade alone, not the safety of the spot. A canyon wall can cast a reliable shadow and still be a poor stopping place during flash-flood risk. A tree can block the sun and still be dangerous in lightning or beneath dead limbs.
How to plan shade on a summer hike, step by step
1. Check whether the hike makes sense at all
Start with the land manager’s trail page, current alerts, closures, water status, fire restrictions, and an hourly weather forecast. Check temperature, humidity, precipitation, thunderstorms, wind, and any excessive-heat warning for the part of the route and elevation you will actually visit.
If wildfire smoke is possible, check current air quality as well. AirNow recommends reducing outdoor exertion when smoke is present and waiting for better air quality when conditions allow. Shade does not protect lungs from smoke, so a beautifully shaded route can still be the wrong outing.
Choose a different route, time, or day when official warnings, closures, water shortages, fire, smoke, or your group’s condition make the original plan unreasonable. No shadow forecast can make up for a bad go/no-go call.
2. Put realistic times on the route
Mark the trailhead, major junctions, exposed sections, likely break areas, high points, water sources, and the turnaround point. Add an estimated arrival window to each one rather than a single perfect minute.
Use a conservative pace and include elevation gain, rough ground, navigation checks, photos, food, and slower members of the group. If a critical shaded traverse is expected between 11:00 and noon, test the sun and shade across that full window. A plan that works only at 11:07 will fail as soon as the group slows down.
A simple route note can look like this:
- Trailhead: 7:30-7:45
- Forest junction: 8:30-9:00
- Exposed ridge: 9:45-10:45
- Shaded lunch option: 11:00-12:00
- Turnaround if behind schedule: 11:30
Treat the times as checkpoints. If you reach the forest junction at 9:30, you know the ridge and the lunch shade will both come later than planned.
3. Check sun direction at the exposed sections
Use the sun position calculator for the trail location and date. Move the time to the arrival window for each exposed or rest section and note which way the sun sits relative to the direction of travel.
If the sun is low and ahead, a ridge, dense forest edge, or wall in that direction may help. If it is high overhead, narrow vertical blockers cast shorter ground shadows, and you may need a broad canopy or covered shelter. If the sun moves from one side of the trail to the other during the hike, test the outbound and return legs separately.
Avoid relying on rules such as “the north side is always shaded.” Slope aspect is a useful starting clue, but the correct side changes with hemisphere, season, time of day and the shape of the local horizon.
4. Read terrain as a shadow-casting shape
On a topographic or 3D map, look beyond the path line. Identify the ridges, cliffs, canyon walls, peaks, and valley sides around it, then ask whether they stand between the sun and the trail at the relevant time.
Pay attention to height and distance. A distant ridge can delay direct sunlight when the sun is low, while a nearby wall can shade a narrow path even when the sun is higher. Small contour details may matter locally, but map resolution will not capture every boulder, cut bank, or overhang.
You can turn height and distance into an angle and compare it with the sun’s elevation. Divide how much higher the wall or ridge is than the trail by its horizontal distance from the trail, then take the arctangent; a wall 300 m higher and 500 m away rises about 31° above the trail. When the sun is lower than that angle and on that side, the trail is in the wall’s shadow.
Take a canyon trail near Springdale, Utah, at the entrance to Zion (37.20° N, 113.0° W), on 15 July 2027. The sun rises at 06:24 MDT and sets at 20:53, and it stays above 70° from about 12:41 to 14:36, when shadows are very short. A wall that rises 30° above the trail on its eastern side keeps the trail shaded until about 09:06. A wall rising 45° on the western side brings the afternoon shade at about 16:55, when the sun sits at a bearing of 264°. Between those times only overhangs, canopy or a shelter will help. (Calculated with SunCast’s sun calculator.)
Terrain is especially useful for planning:
- an early climb on the shadowed side of a ridge;
- a break before crossing an exposed saddle;
- a canyon segment after a wall begins blocking afternoon sun;
- a return route that avoids walking directly into low sun;
- a picnic stop that stays behind a broad landform for the full meal.
Do not treat terrain shade as permission to leave the trail, enter a closed area, stop beneath unstable rock, or wait in a drainage channel. Use established routes and durable, permitted rest areas.
5. Treat vegetation as current evidence, not permanent infrastructure
Satellite imagery, trail photos, and trip reports can suggest where forest cover exists. Look for a broad band of canopy along the trail rather than a few trees near a viewpoint.
Then check how recent the evidence is. Deciduous trees may provide less cover outside the leaf season. Fire, drought, insects, storms, trail work, or forestry activity can change a canopy faster than a base map updates. Dense foliage can also hide damaged limbs, so inspect the actual stopping place before sitting down.
Forest shade works best spread along a route, where it makes a long segment more comfortable and offers several backup stops. Counting on one mapped tree to shade a group at noon is a much weaker plan.
6. Place rest stops before you need them
Plan reliable shade near the start of a hot or exposed section, near the end, and at the intended meal break. This creates options if the group is slower, the canopy is thinner than expected, or someone needs to stop early.
The stop should fit the whole group without blocking the trail or damaging vegetation. Check for dead branches, unstable rock, insects, wildlife restrictions, private property, and any water or flash-flood hazard. Shade behind an isolated tree should not be a thunderstorm plan.
The National Park Service warns that there is no safe outdoor shelter during a thunderstorm. Its guidance prioritizes avoiding storms, moving toward substantial shelter, descending from exposed terrain, and avoiding tall isolated trees. If thunder develops, follow the appropriate official safety guidance; do not cling to the planned shade stop.
7. Build an exposed-route alternative
Every shade plan needs a fallback for the moment the shade is not there. Options may include an earlier start, a shorter loop, an out-and-back with a firm turnaround, a lower or more wooded trail, a maintained picnic area, or postponing the hike.
Write down the trigger before leaving. Examples include reaching a junction later than planned, finding that a water source is unavailable, seeing smoke deteriorate, hearing thunder, or discovering that the shaded section was affected by fire or tree removal. A tired group then follows the agreed fallback without debating whether to push on towards a hoped-for patch of shade.
8. Verify everything at the trailhead and on the trail
Recheck official alerts and the hourly forecast as close to departure as practical. At the trailhead, compare the predicted sun direction with the real terrain and note whether your timing has shifted.
As you walk, watch for the next dependable shade before leaving the current one. The apparent path of the sun keeps moving, and so do shadows. A break spot that works on the outbound leg may be exposed on the return.
The U.S. Environmental Protection Agency’s UV Index guidance is a useful reminder that shade planning and sun protection belong together. Its simple “shadow rule” says that a shadow shorter than your height corresponds to higher UV exposure; when UV protection is needed, use shade alongside protective clothing, a hat, sunglasses, and sunscreen rather than treating shade as the only defense.
Three common summer-hike shade scenarios
A forest loop with patchy canopy
The map shows trees almost everywhere, but recent photos reveal open meadows and wide canopy gaps. Treat the forest as a series of probable shade sections with exposed gaps between them.
Time the largest clearing for earlier in the outing, note two wooded break options on either side, and verify whether the return leg faces low afternoon sun. If the forest has recent fire or storm impacts, current land-manager updates matter more than old imagery.
An exposed ridge with a wooded approach
The ridge is the attraction and the least shaded part of the hike. Instead of searching for impossible midday shade on the crest, plan the time spent there and use the wooded approach as the rest-and-cooling zone.
Check when direct sun reaches the ridge, when the group will arrive, and where the route can safely turn back. If thunderstorms are in the forecast, the ridge creates a separate hazard that a morning shadow model does not solve.
A canyon or cliff-side trail
A canyon wall may create deep, predictable terrain shade for part of the day. Check which wall blocks the sun during the planned travel window, and remember that the outbound and return may have different exposure.
Then apply the non-solar checks: local heat can remain severe in shade, air circulation may be limited, and narrow terrain can introduce flash-flood or rockfall hazards.
A family picnic or long lunch stop
For a longer stop, choose a wide patch of shade that will not slide off the seating area during the break. Maintained shelters and broad canopy are easier to trust than a single boulder or tree.
Check whether the location is open, permitted, reachable by the group, and safe from vehicle traffic, dead branches, cliffs, and water hazards. If the stop is the day’s main heat refuge, keep a second confirmed option nearby.
Checking terrain shadows without the arithmetic
The free SunCast sun calculator gives the sun’s direction and height for any time, which is enough for the angle comparison above. Working out wall heights from contours for every exposed section takes longer.
On the trail, the app’s AR view draws the sun’s path over the camera image, which helps when you are deciding whether a lunch spot will stay shaded for the next hour. The hiking and camping page covers both. Treat any of this as one input alongside an official forecast, current trail information and proper navigation: terrain data can be incomplete and canopy changes, as the guide to sun-position app accuracy explains.
Common mistakes when looking for trail shade
- Planning from today’s sun for a future trip. Sun direction and height change with the date, so check the actual hiking day.
- Calling an entire route shaded from one photo. A photo proves conditions at one viewpoint, angle, season, and time.
- Using a fixed compass rule. Morning, afternoon, season, latitude, and hemisphere can overturn a simple north-versus-south assumption.
- Treating cloud as dependable shade. Cloud cover can change quickly and does not remove every heat or UV concern.
- Choosing one tiny shade patch as the whole plan. Small shadows move; build several options into the route.
- Ignoring the return journey. The sun will be elsewhere, the group will be more tired, and the same segment may no longer be shaded.
- Letting shade override other hazards. Heat, smoke, lightning, flash floods, unstable rock, dead trees, access rules, and water availability remain separate decisions.
If the overnight stop matters more than the walking route, use the separate checklist for choosing a campsite with morning shade.
Before you commit to the route
Check the most exposed section and the intended break time with the sun calculator, compare the sun’s height with the terrain on that side, then read the result against current official trail and weather information.
Frequently asked questions
Can a topographic map tell me where a trail will be shaded?
A topographic map can show ridges, valleys, slope direction, and cliffs that may block the sun, but it usually cannot confirm tree-canopy density or small local obstructions. Combine terrain, the sun's direction for your hiking time, current satellite or trail information, and an on-the-ground check.
Which side of a mountain stays shaded longest?
There is no universal side that stays shaded for every place, date, and time. The answer depends on latitude, hemisphere, season, trail orientation, terrain height, and whether you need morning or afternoon shade, so check the actual sun direction instead of relying on a compass shortcut.
Will a forest trail stay shaded all day?
Not necessarily. Canopy gaps, recent fire or logging, sparse branches, low-angle sunlight, and seasonal leaf cover can turn a shaded-looking route into alternating sun and shade. Treat forest cover as probable shade and verify current conditions before relying on it.
How can I plan a shaded lunch stop on a hike?
Estimate when you will reach the lunch area, check the sun direction and elevation at that time, and look for a broad blocker on the sun-facing side of the stop. Choose a legal, durable stopping place away from rockfall, dead branches, flash-flood channels, and isolated trees during thunderstorms.
Is hiking in the shade safe during extreme heat?
Shade reduces direct sun exposure, but it does not remove dangerous air temperature, humidity, exertion, dehydration, smoke, or limited rescue access. Follow official forecasts and closures, carry appropriate supplies, know heat-illness warning signs, and change or cancel the hike when conditions exceed your plan.